TACTICAL GUIDE / World 3 / November 1 walkthrough
World 3: controls & checkpoints
At the green-window minigame, follow the visible “Hold Click” prompt: hold and release your click to keep the white marker in green until progress completes. At the right-side cannon, wait for a green trajectory before jumping. Use the route cues below to match your obstacle.
Updated 2026-11-07 · World 3 / November 1 walkthrough
 Open full-size image ↗
Match the obstacle, then act
Match the starting pads and on-screen prompts
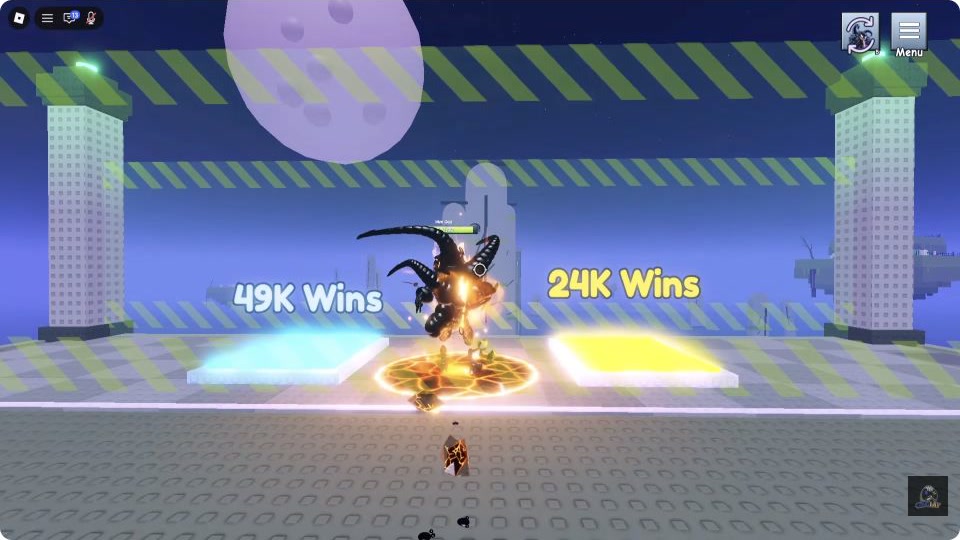
Use the blue and yellow starting platforms to orient yourself. On the helicopter and repeated-hop sections, jump when the on-screen jump prompt appears. Follow the prompt in your game.
Green-window bar · 1:35
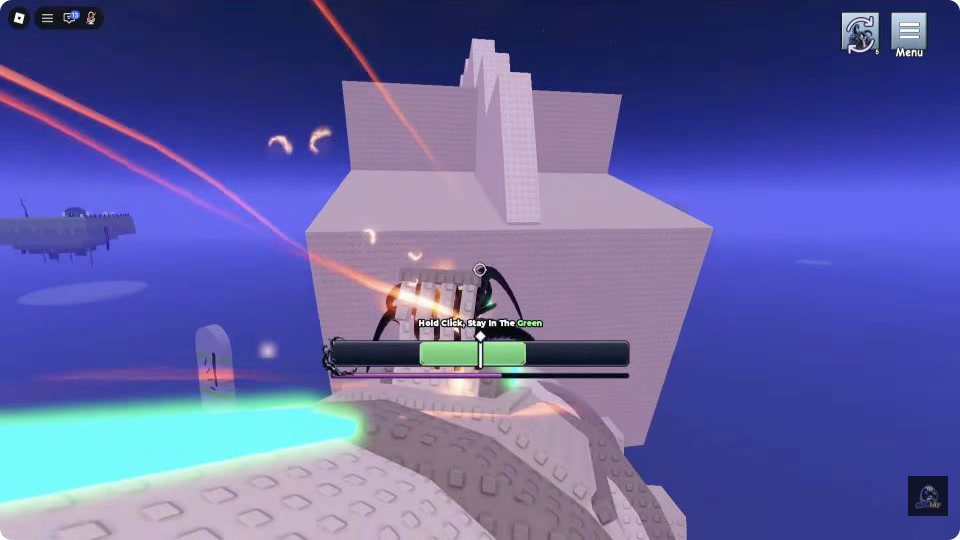
The visible instruction is “Hold Click, Stay In The Green”. Hold and release your click to adjust the white marker so it stays inside the green window while the lower progress bar fills. If progress is not completing, look at the marker and green window before trying another input. This minigame asks for Click, not a held Space key.
 Open full-size image ↗
Keep the white marker inside the green window until the lower progress bar fills. Wibi Shawn · 1:35. Confirm the stage has cleared · 2:01
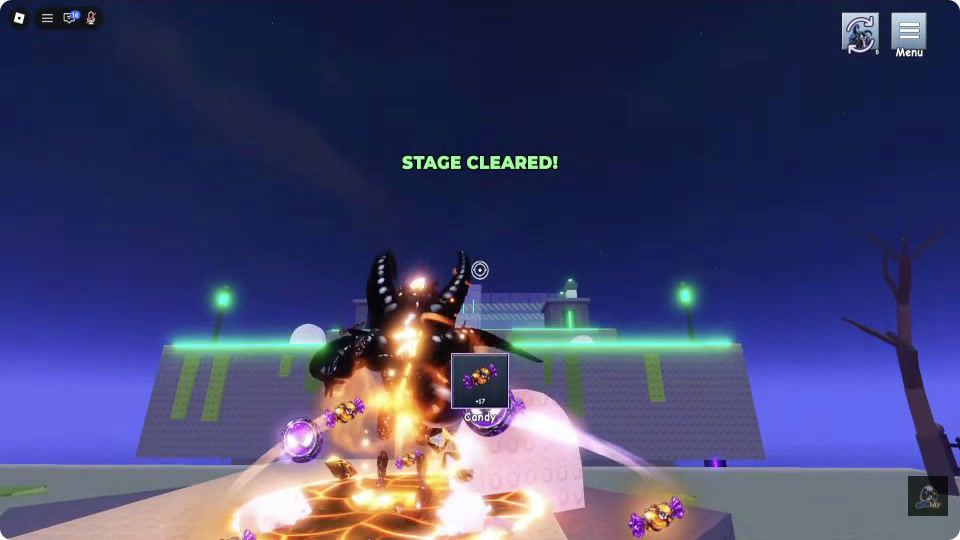
Look for STAGE CLEARED before leaving for the next obstacle. That message is a clearer completion check than assuming that crossing a platform has already finished the task. If the message has not appeared, finish the current interaction first.
 Open full-size image ↗
The visible STAGE CLEARED message is the success signal. Wibi Shawn · 2:01. Use the right-side cannon · 6:04–6:15
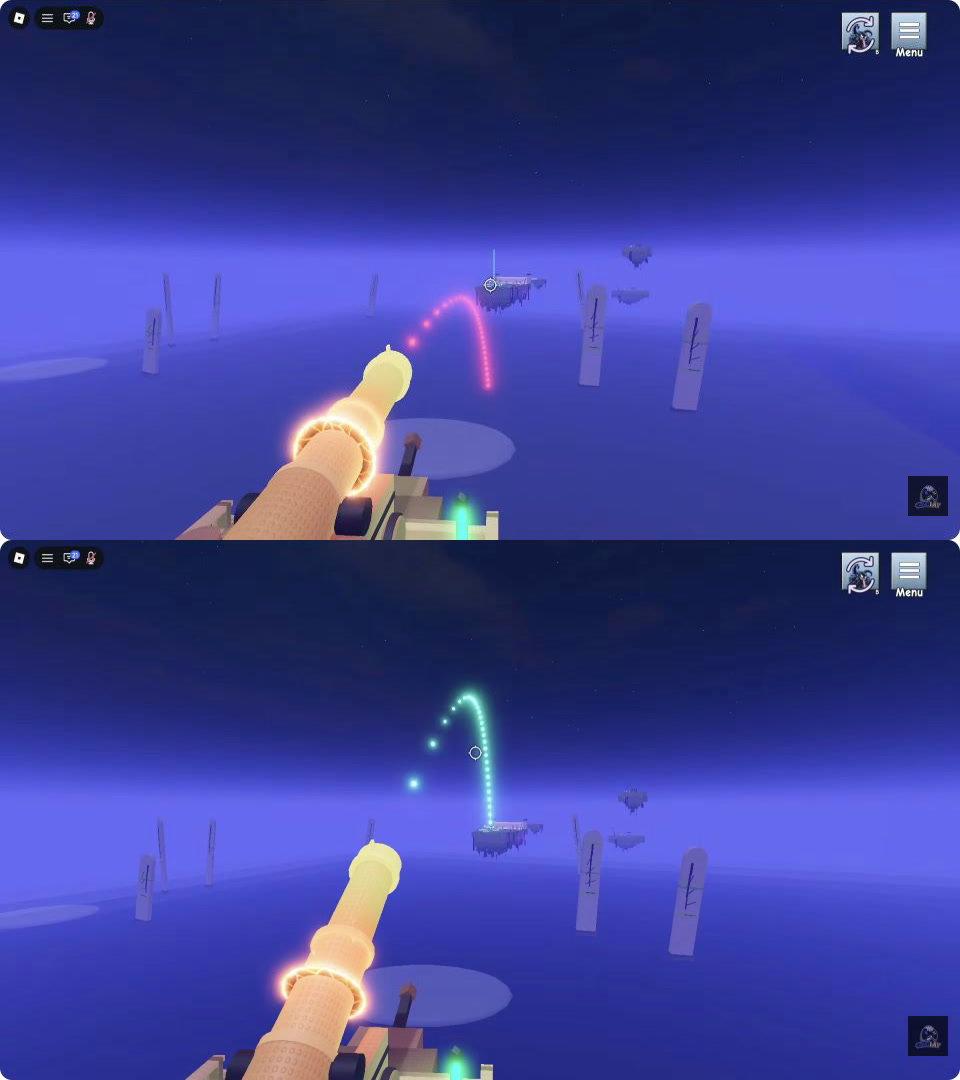
At the ship section, use the cannon on the right. Watch the dotted trajectory: wait through the red state, then jump when it turns green, as the narrator demonstrates. If a launch fails, return and watch one red-to-green cycle before trying again.
 Open full-size image ↗
Red arc at 6:12.5 (top), green arc at 6:15 (bottom). Jump on green, as explained in the narration. Wibi Shawn. Repeated hops and checkpoints · 6:33–6:49
Continue by latching or hopping, then repeat the jump action where the route prompts it. The narrator identifies a first checkpoint and then another. If you fall, identify the scene where you restart and resume from that checkpoint rather than applying the cannon instruction to the hop section.
Latch timing · 8:17
When you latch onto the moving object, wait for its moving indicator to reach the end, then jump again. Watch the indicator instead of pressing at a fixed rhythm. If the transfer misses, let a cycle play out and time the next jump from the visible end position.
Clock obstacle · 8:32
Watch the long hand of the clock and keep out of its path as you move across. If it keeps hitting you, pause your forward movement long enough to read its sweep before choosing the next opening.
Castle NPCs · 9:10
Clear the NPCs that spawn before continuing: the walkthrough warns that leaving them alive lets damage accumulate. If your health keeps falling while you try to cross, deal with those enemies first, then return to the route.
Swinging sword · 11:15
The route goes underneath the swinging sword. Watch the blade before committing to the crossing. If you are clipped while moving forward, reset your timing and use the space underneath rather than trying to pass through the blade.
Gain height before changing walls · 15:12
Near the final wall-hop sequence, hop upward first, then transfer to the next wall. Watch that you have gained height before moving sideways. If a sideways transfer keeps failing, use the next attempt to climb higher before switching.
What success looks like
Use STAGE CLEARED to confirm an individual stage. Later obstacles have their own prompts and timing; match the scene before applying the next instruction. This guide covers selected controls and checkpoints, not a perfect-clear table for all 45 stages.
If you get stuck
First separate a missed input from incoming damage. For a stalled bar, use Click and watch the white marker. For a failed cannon launch, wait for green. For repeated damage in the castle section, clear the NPCs before moving on. If your scene or prompt differs, open the linked moment and compare it with your current game rather than repeating the wrong action.
Prepare your next attempt
Sources & footage
- Wibi Shawn — World 3 walkthrough (November 1, 2026) ↗
PC controls and route commentary. Input instructions use the visible game prompts; the opening flyover is a preview.
- 1:35 — visible Hold Click prompt ↗
- 6:04–6:15 — right cannon and green trajectory ↗
- 6:33 — hops and checkpoints ↗
- 8:17 — latch timing ↗
- 8:32 — clock hand ↗
- 9:10 — NPC damage ↗
- 11:15 — sword crossing ↗
- 15:12 — upward wall transfer ↗
Screenshots show the recorded version. Game updates can change prompts, event access and values. This is an independent guide, not an official Roblox or developer site.